Arranging the Timeline
The timeline is where you build your mix — laying clips out across tracks and arranging them in time. This page covers moving material around and getting it to line up musically.
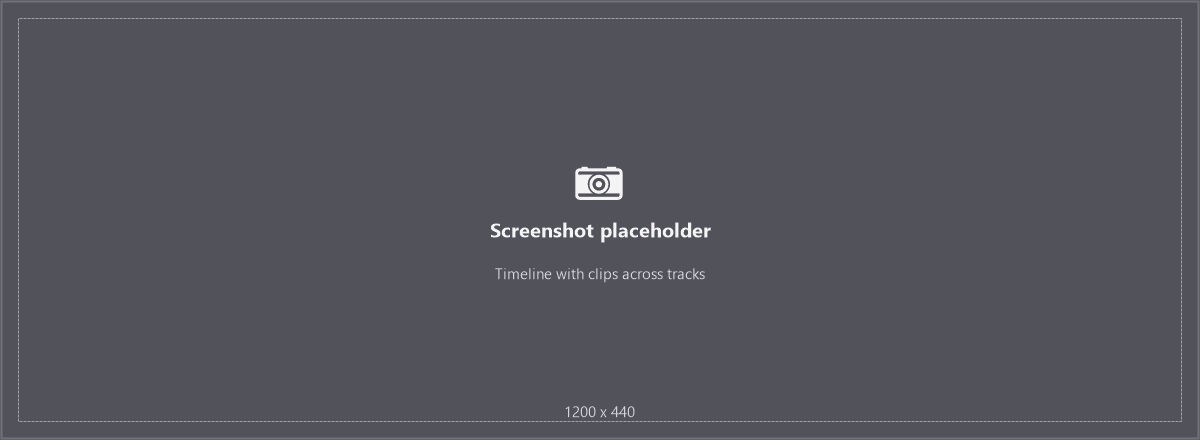
Screenshot placeholder — replace with: the timeline with a few tracks, each holding some clips, the bar-and-beat ruler across the top, and clips of different colours so the arrangement is easy to read.
Tracks and clips
Audio lives on horizontal tracks, and each piece of audio is a clip. You can have as many tracks as you need — add one with File ▸ Add Track… (Ctrl+T). Drag a track header to reorder tracks, and drag its edge to resize it.
Moving and editing clips
Select a clip by clicking it, then rearrange freely. The common actions are on the Edit menu and the clip right-click menu:
- Move — drag a clip along a track, or to another track.
- Split Clip at Playhead (S) — cut a clip into two at the playhead.
- Duplicate Clip (D) — make a copy.
- Cut, Copy, Paste (Ctrl+X / C / V) — move clips around or between tracks. Ctrl+V pastes onto the selected track at the playhead. You can also right-click an empty track lane and choose Paste to drop a copied clip onto that track — click first to place the playhead where it should land.
- Delete Clip (Delete) — remove a clip.
- Trim — drag a clip's edge to shorten or extend how much of it plays.
- Colour — right-click a clip and choose Colour to tag it, which makes a busy arrangement easier to read.
- Lock / Unlock — right-click and lock a clip (or press Ctrl+L) so it can't be moved or edited by accident. A locked clip shows a small padlock on its title strip.
To clean up the end of your arrangement, Edit ▸ Trim Project to Last Clip shortens the project to finish at your final clip.
Snapping to the grid
By default, clips snap to the beat grid as you drag, so they naturally land on the beat. When you want to place something freely — for a small, deliberate offset — hold Alt while you drag to switch off snapping for fine, free placement.
Bar numbering
The timeline is numbered in bars, starting at 1 by default. You can change where the count starts in Project Properties using Bar counter start — setting it to 0 or lower leaves lead-in bars before bar one, which is handy for clips that begin with a silent intro.
Tempo, beats, and the grid
Everything lines up against the project tempo and its beat grid.
- When you import audio, Silverdaw detects its tempo (BPM), key, and beat positions automatically, so clips can be matched to the project.
- The first musical clip you place on a track sets the project tempo: Silverdaw seeds the project BPM from that clip's detected tempo. This happens once — later clips don't change it, and clips marked as samples don't seed it — and you can fine-tune the tempo afterwards from the transport bar.
- If detection is uncertain, you can set a clip's BPM by hand and slide the beat grid across its waveform to line it up. This is done in the Clip Editor.
- The project's own tempo is set in Project Properties.
By default, dropping a clip onto a track automatically matches it to the project tempo (Silverdaw switches on Warp for you). You can turn this off with Match project tempo on drop in Preferences ▸ Timeline if you'd rather clips keep their own tempo until you warp them yourself.
Getting the grid right is what makes loops, slicing, and snapping all fall neatly into place.
Markers
Markers are labelled points you can drop on the ruler to mark places in your arrangement — the start of a chorus, a drop, or wherever you want to jump back to. They appear as small triangles on the ruler and are saved with the project.
- Add or remove a marker — double-click the ruler at the point you want, or press M to place one at the playhead (press it again at the same place to remove it).
- Move a marker — drag it along the ruler; it snaps to the grid.
- Jump between markers — press Ctrl+← and Ctrl+→ to move the playhead to the previous or next marker.
You can also set the transport's previous / next buttons to step through markers instead of jumping to the project ends — see Previous / next buttons in Preferences ▸ Timeline.
The metronome
The timing display includes a Metronome click. Switch it on to hear an audible tick that follows the project tempo, so you can check by ear whether a loop or beat sits in time. The metronome is off by default, and its on/off state is saved with the project.
Zooming
Use the View menu to change how much of the timeline you see: Zoom In (Ctrl++), Zoom Out (Ctrl+-), Reset Zoom (Ctrl+0), or pick a Zoom Preset.
Automating changes over time
Effects and levels don't have to stay fixed — you can draw automation that changes them across the timeline, such as a filter sweep or a fade. Automation is edited in a lane under each track; see Automation.